Add Documents to a Case
You can add supported documents to an open case using any of the methods described below.

|
Note: When you select a group of documents to be added to the system, the documents are added in a batch. You can review the progress of the document import in the Document Batch panel.
You can only delete a batch from the Batch Documents panel after the batch import process is completed. In-progress batches cannot be deleted. |

Drag and Drop
The easiest way to add a document is the drag and drop method. With the case you want to add a document to open in TrialDirector 360 EVIDENCE, follow the steps below:
-
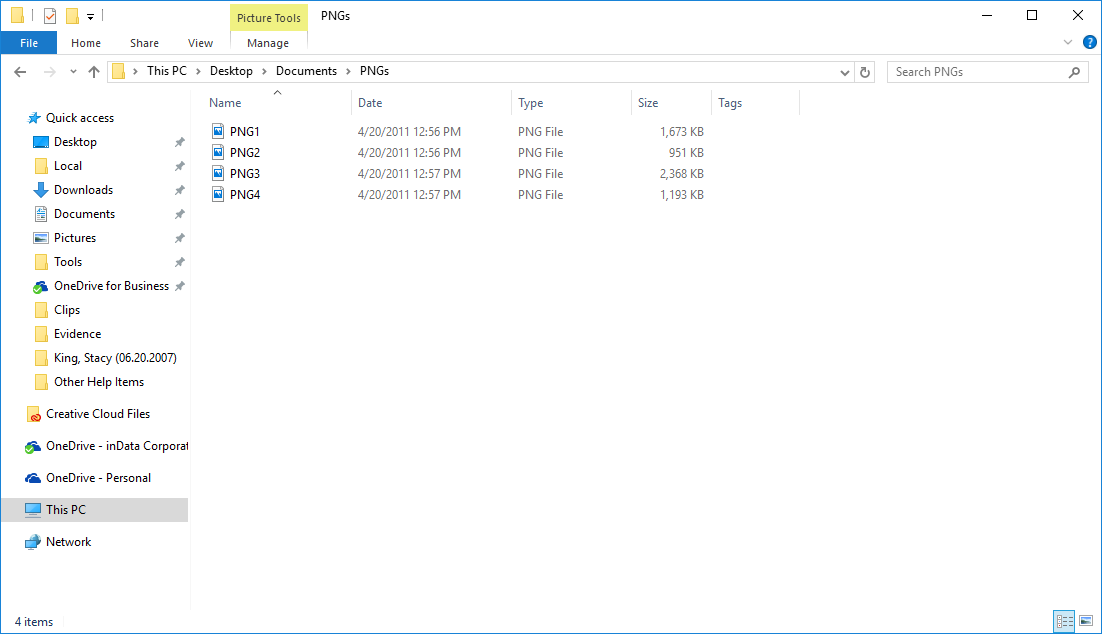
Open the file location in the local file explorer.
-
Hold left click on the file and drag the file over to the TrialDirector 360 EVIDENCE Documents Explorer.
-
Release left click to drop the file into the Documents Explorer.
-
Review the information in the Add Documents dialog.
-
Click the Add button.
|
|
Note: You may also drag files directly from your desktop. |
After dropping the file into the Documents Explorer, the Add Documents dialog appears.
The document is added to the case.
Documents Explorer Ribbon Bar
To add a document to the case via the Documents Explorer ribbon bar, open the case where you want to add a document and follow the steps below:
-
Open the Documents Explorer.
-
Click the Add button.
-
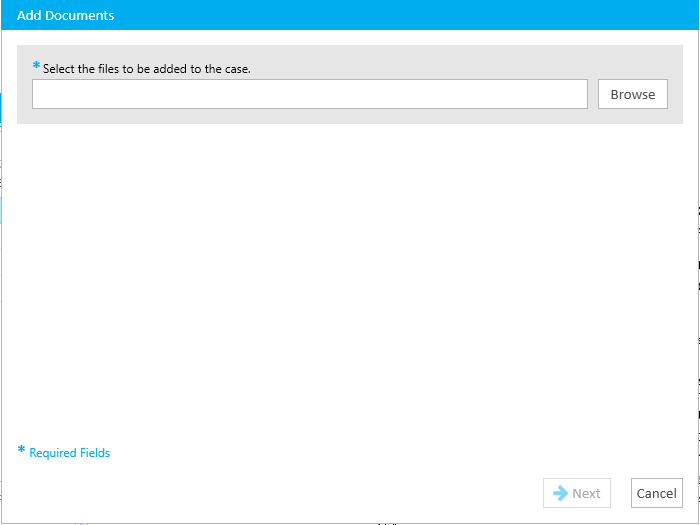
Click the Browse button in the Add Documents dialog.
-
Navigate to the document to be added.
-
Select the file.
-
Click the Open button.
-
Click the Next button in the Add Documents dialog.
-
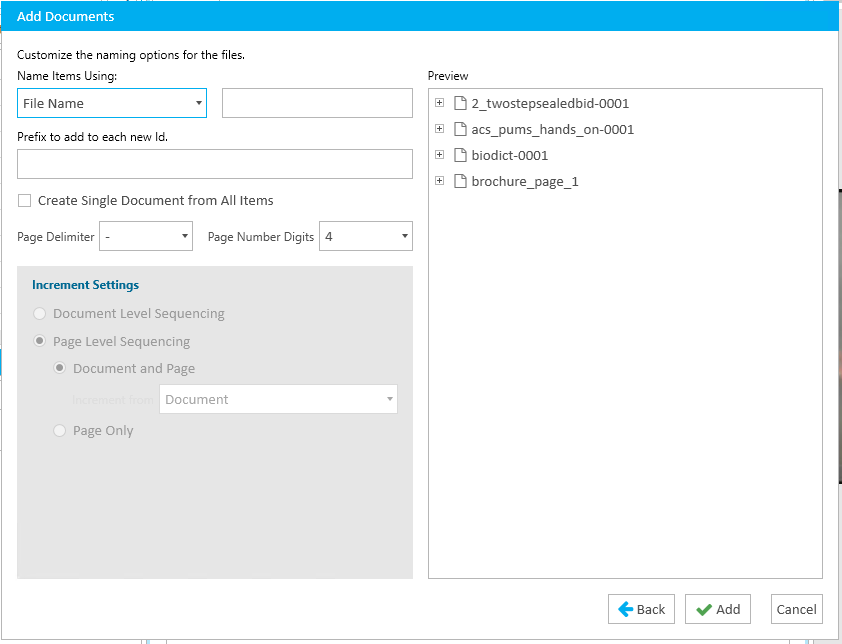
Review the document's naming options.
-
Click the Add button.
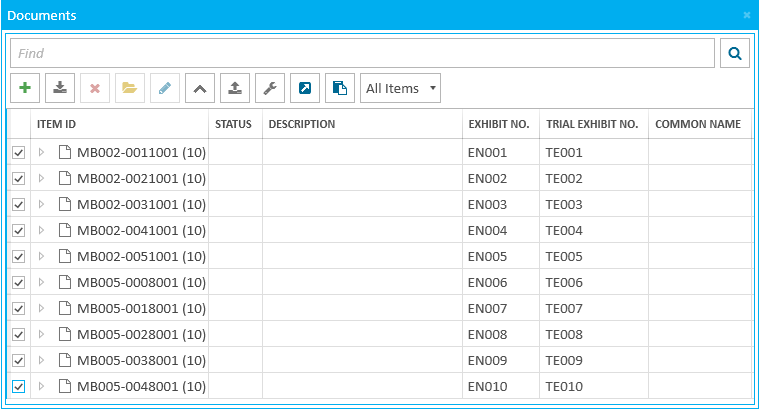
The documents already added to the case appear.

The first step of the Add Documents dialog appears.
The local file explorer appears.
The document naming options appear in the dialog.
The document is added to the case and appears in the Documents Explorer.
|
|
Note: For more information on adding documents, see |