Create a Quick Marks Report
You can create a report of quick marks in a transcript in your case using the Reports Explorer.
To create a Quick Marks Report, open the Reports Explorer in a case and follow the steps below:
-
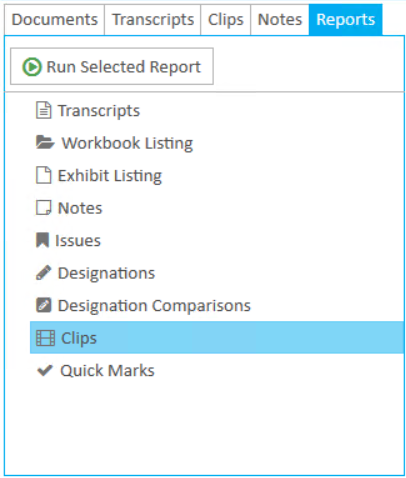
Select the Quick Marks item in the explorer.
-
Click the Run Report button in the explorer ribbon bar.
-
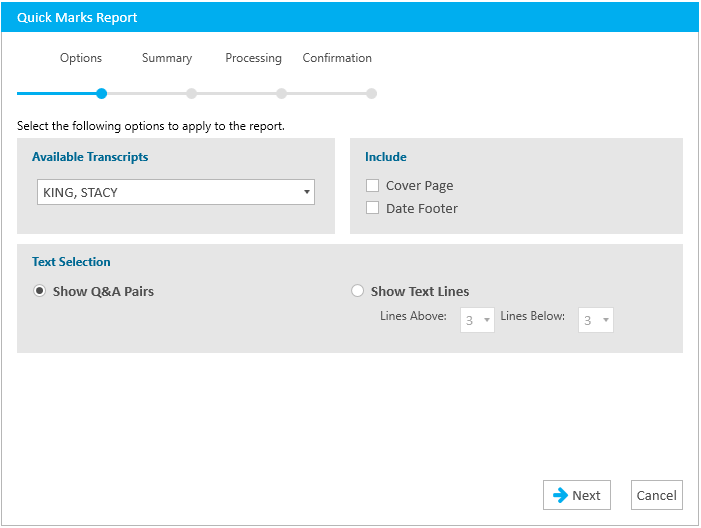
Ensure the selected options for the report are correct.
-
Click Next.
-
Click the Preview button.
-
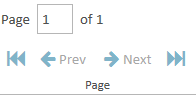
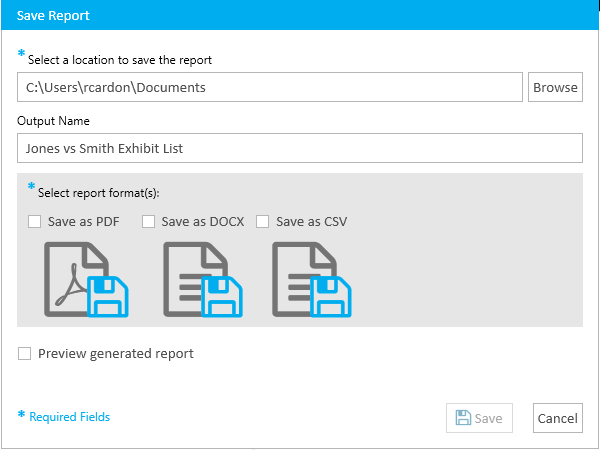
Navigate between pages in the report
-
Save the report as a different file type


Note: Some reports may have a CSV save option.
-
Close the report


The Quick Marks Report wizard appears.
|
|
Note: See the table below for information on all of the report options. |
Continue to select options and click the Next button in the wizard until you arrive at the Summary page.
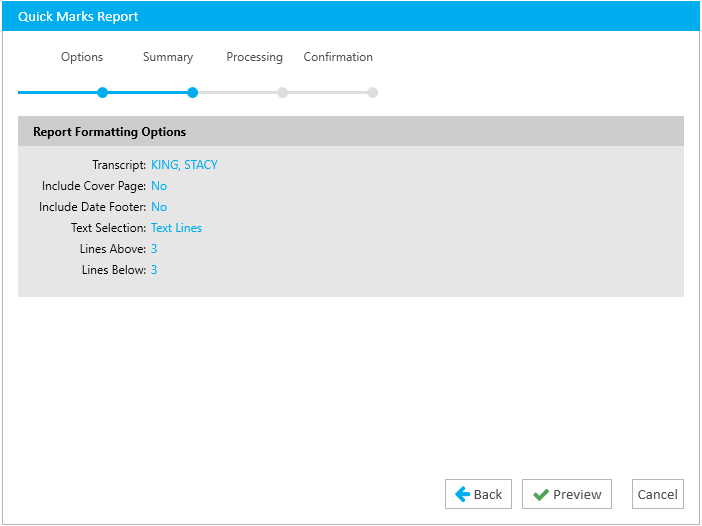
On the Summary page, you can review the options you selected for the report and click the Edit button or the Back button if you need to make any changes.
The report is generated and appears in the Report Work Area.
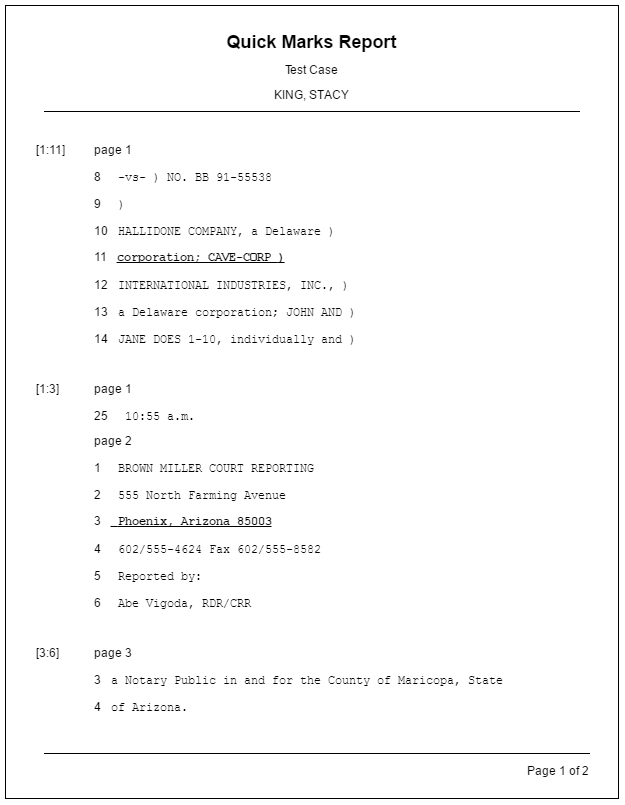
You can use the options in the Report Work Area ribbon bar to perform any of the following actions:
Report Options
The Quick Marks Report contains the following customization options:
|
Option |
Definition |
|
Text Selection |
You can choose between two options:
If you choose the Show Text Lines option, you can choose the number of lines above and below the quick mark reference to be shown. |
|
Include |
You can choose to include the following options in the report:
|